Edit Group Enrollment
How to Edit Group Enrollment for a Course Participant
1. To change or updated which group your students are in, begin by navigating to your course.

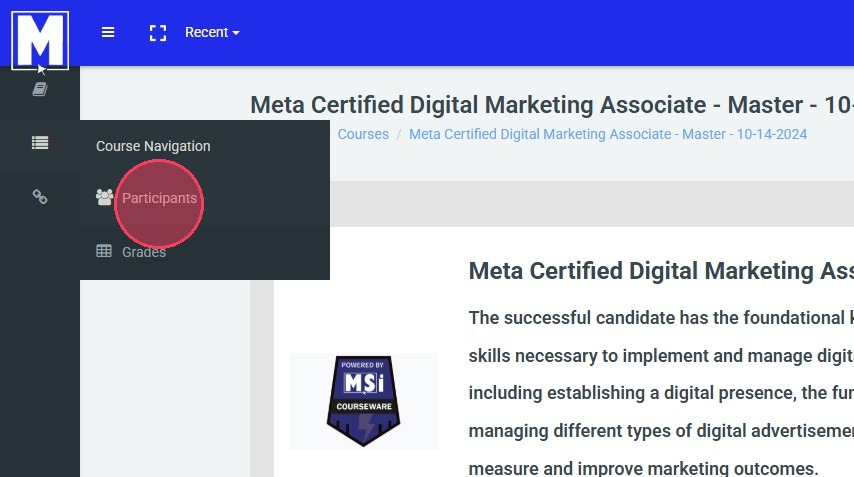
2. Click the 3 lines on the left of your screen in order to navigate to participants.

3. Click "Participants"
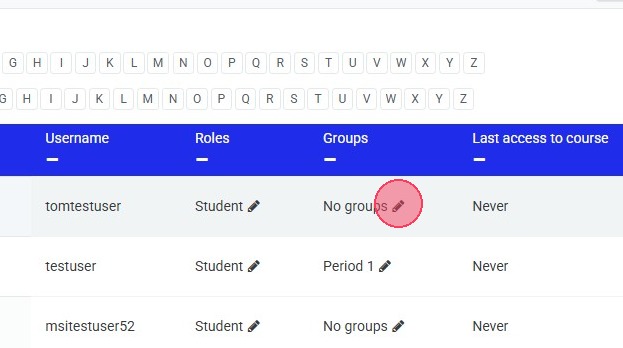
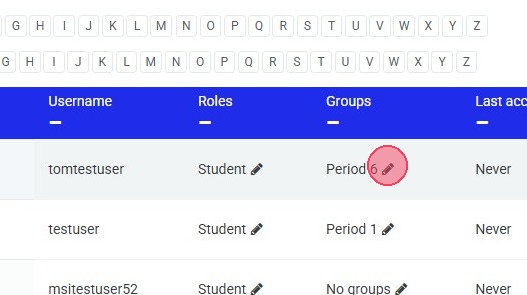
4. Find any student's name, click on the pencil icon under the "Groups" column.
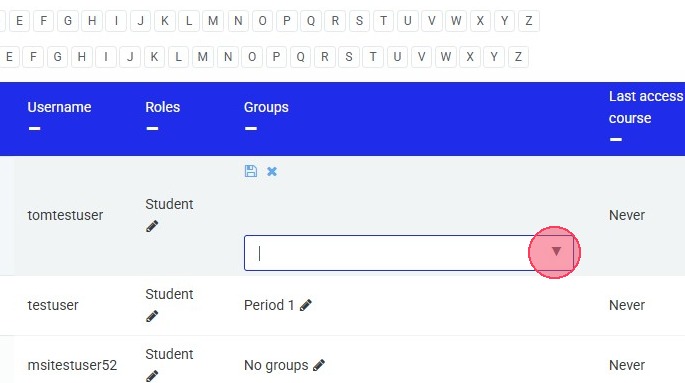
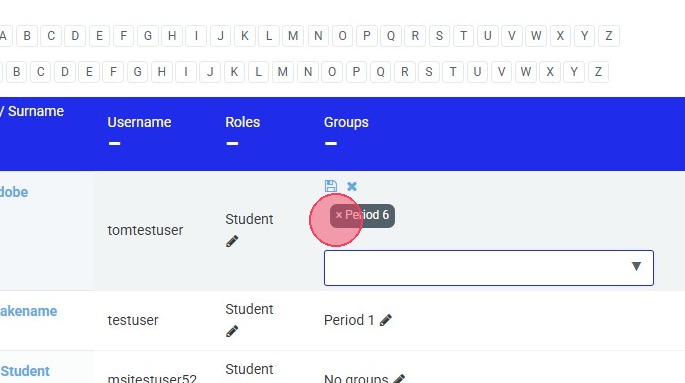
5. Drop down or type the group you need your student to be in.
6. Choose desired group.
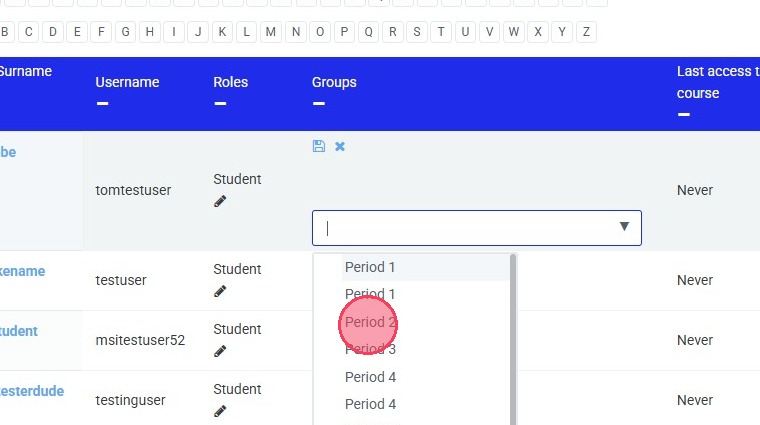
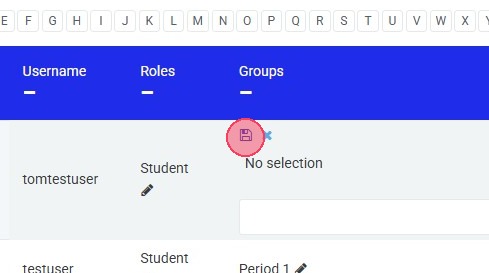
7. Make sure to click the "Save" icon.

To Remove Your Student from a Group:
1. In order to remove a student from a group, click the pencil icon.
2. Click "×"
3. Make sure to click the "Save" icon
Related Articles
Creating Groups
How to Create Groups within Your Course 1. Navigate to your course. 2. Click the 3 lines to the left of your screen. 3. Click "Participants" 4. Click this gear icon for the drop down menu. 5. Click "Groups" 6. Click "Create group" 7. Click the "Group ...Editing the Period Selector
How to Add and Remove a Group from the Period Selector. 1. Navigate to your course. 2. Click "Choose Your Period Here" 3. Click the gear icon to reveal the drop-down menu. 4. Click "Edit settings" 5. Choose the groups you wish to have as an option ...Adding Access Restrictions
Adding Access Restrictions Note: Not all activities support access resection. Access Restrictions are supported on Quizzes, Project Quizzes, SBAs, Labs, and Topics. They are not supported by stand alone knowledge checks and 'slide style' case ...How to Configure Grade Restrictions for Certificates of Course Completion
How to Configure Grade Restrictions for Certificates of Course Completion This guide provides a simple walkthrough to help instructors control content availability based on student performance. 1. Navigate to your course 2. Click "Turn editing on" 3. ...Show/Hide Feature
Show / Hide You can hide individual lessons and full chapters in a course. Go to the top right of your course, select "Turn editing on". Go to the lesson you would like to hide from students. Select the Edit dropdown arrow and select “Hide” As a ...